


We see hundreds or even thousands of images a day, and almost all of them have been digitally manipulated in some way. Some have gotten basic color corrections or simple Instagram filter effects, while others have received full on Photoshop jobs to completely transform the subject. It turns out humans aren’t very good at recognizing when an image has been manipulated, even if the change is fairly substantial. Hany Farid is a professor of computer science at Dartmouth College who specializes in photo forensics, and while he can’t share all of his fancy software tools for detecting editing trickery, he has shared a few tips for authenticating images on your own.
Try reverse image searching

Stan Horaczek
Before you start trying to CSI an image too hard, you can often debunk a faked photo by finding its source using a reverse image search. Google includes this function as part of its Images suite and looks for the exact image, as well as images that are similar in both subject matter and color aesthetics.
Another powerful tool is Tineye, which performs a similar function, but often returns fewer results that are closer to exact matches, which can make them easier to sort through.
“Often if you just do a reverse image search, you’ll find it right away,” says Farid. “You’ll see the original image that someone took from Getty Images and then added a UFO to the sky or something like that.”
Reverse image search can also be a useful tool if you suspect someone is stealing your social media photos and impersonating you. Upload your own photos to the tools and you can see where they appear on the web.
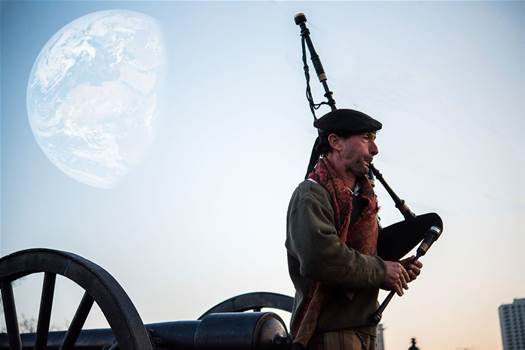
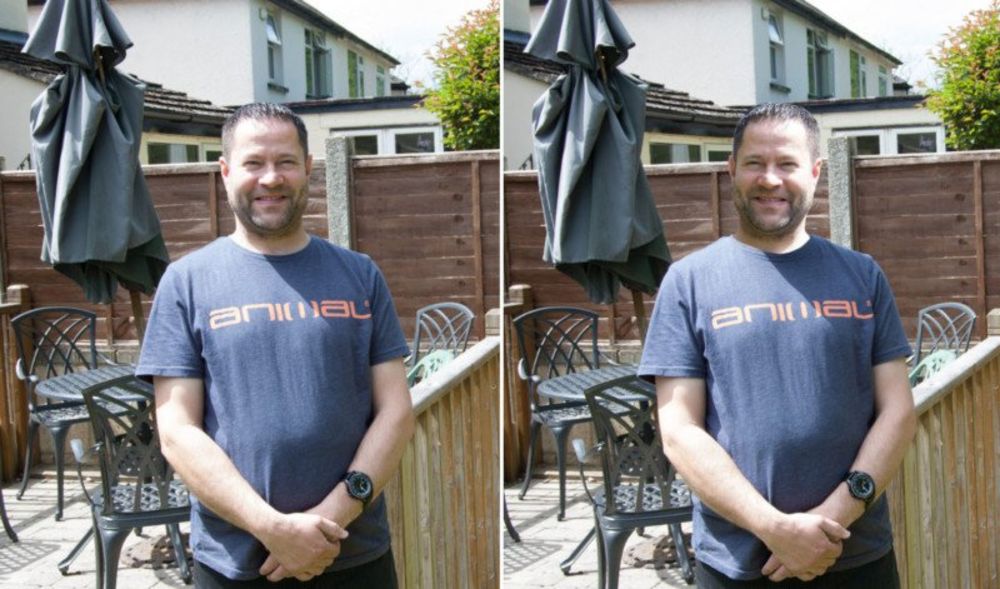
Look for weirdness
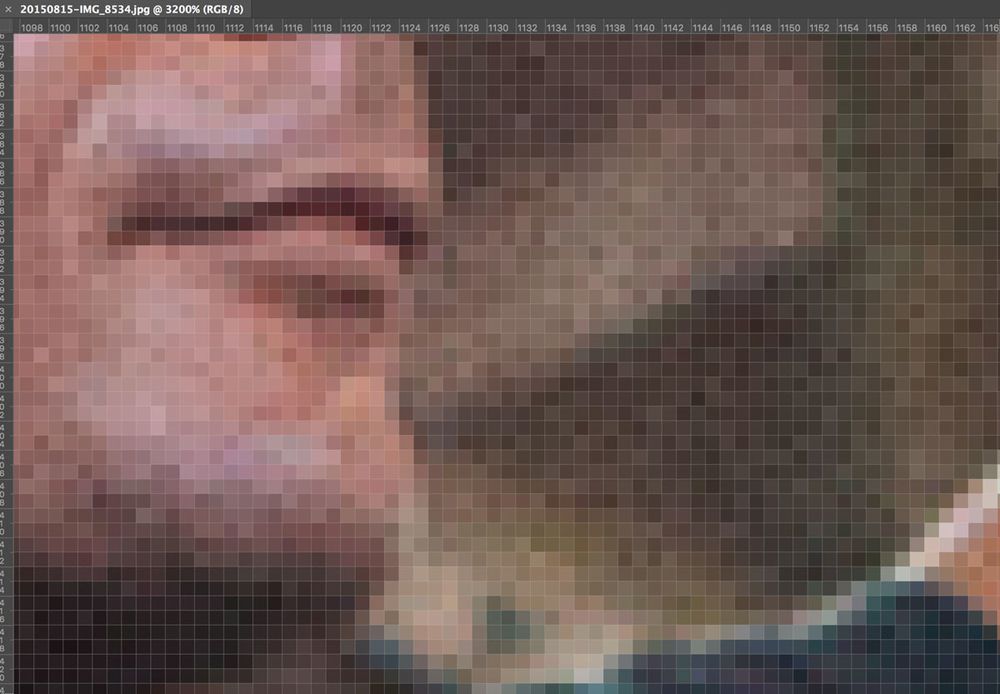
Fight the urge to zoom in too far to examine an image. This unedited image shows weirdness and artifacts when you’re up this close. You don’t have the CSI “enhance” tool.
Stan Horaczek
The first step in analyzing an image involves a logical analysis, an area in which humans typically perform much better than computers—at least for now. “Computers are very good at measuring this fine grain details like compression artifacts and inconsistencies in geometry,” says Farid. “But if someone created a picture of a boat sailing down the middle of the road, a computer might not see anything wrong with that.”
Look at an image closely and examine objects that may have been inserted, or look for evidence that other objects may have been removed. Farid warns against zooming in too far, however, because that can introduce its own obstacles. “Sometimes if you zoom into an image up to 500%, it’s very easy to look at something that’s perfectly valid, like artifacts from lens distortions or noise, and start attributing that to manipulation,” says Farid. He recommends zooming to 200% or 300% maximum to avoid false positives.
This is also the time to look for errors in scale and perspective, which are some of the trickiest things to fix in a fake. Does one person in a group photo have an abnormally large head? Does an object look like it’s sitting at an odd angle? These are warning signs that warrant an even closer look.
Check the EXIF data
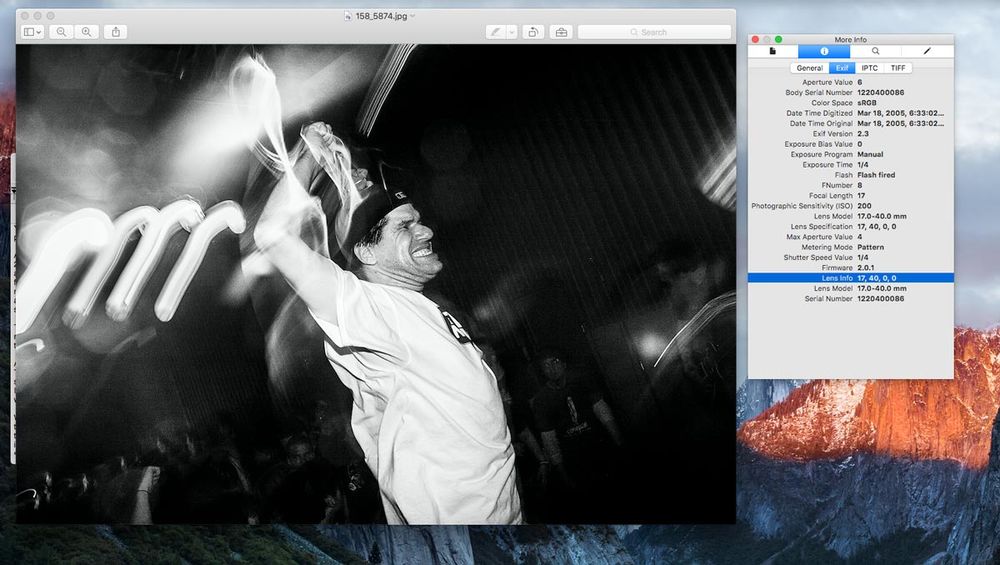
You can learn a lot about a photo by checking out the metadata associated with it.
Stan Horaczek
When a digital camera captures an image, it appends a whole array of information called EXIF data to the image file. This data includes all the critical camera settings, as well as other info like GPS data if it’s available (which is typically the case with smartphone photos, unless the person has intentionally turned location settings off).
If you have the location of the photo, you can plug it into Google Maps and use Street View to get a general idea of what the location might actually look like. The Street View scene won’t necessarily be 100 percent accurate and up-to-date, but it can be a good starting point.
You can see the EXIF data for a photo by opening it in Photoshop or another image editing program, but there are also websites that will show you the data, like Exifdata.com. Photo sharing site Flickr also displays a lot of metadata when it’s available. Both Windows and Mac can also give you some metadata if you right click on the file in Explorer or Finder.
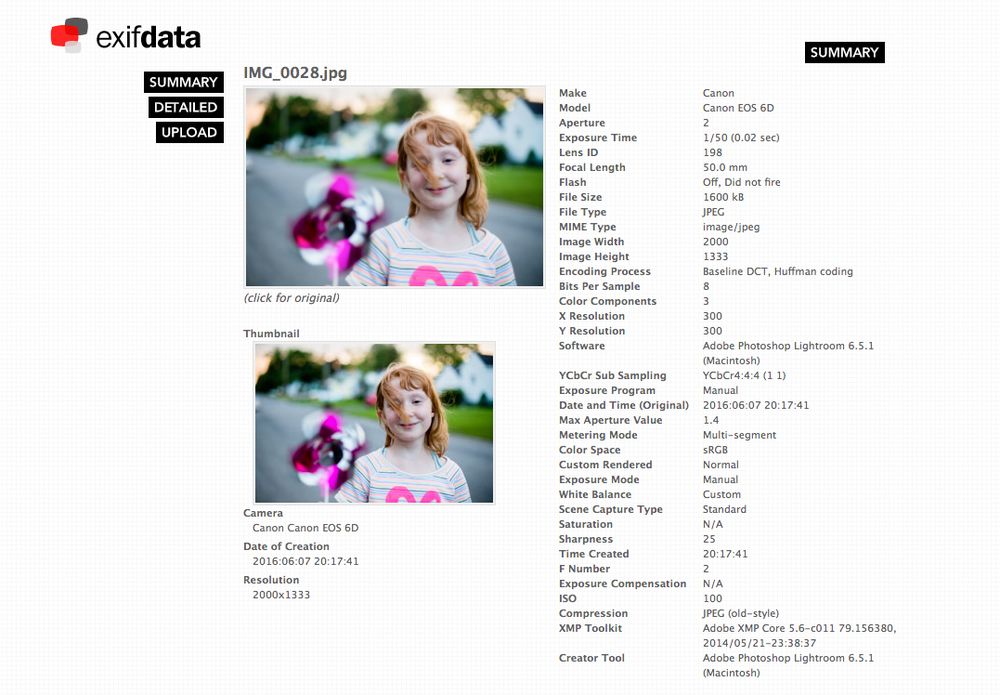
This analysis from Exifdata.com shows the metadata attached to the JPEG file.
Stan Horaczek
If you have some photography knowledge, you this is where you can leverage that to your advantage. For instance, if you can see that the photo used a long shutter speed, like 1/10th of a second, then moving objects should have motion blur. If you see a completely sharp car in the frame, that should send up a warning flag.
You can also sometimes find the original pixel dimensions of the image. This may not sound very useful, but you can easily look up the typical image dimensions of a particular camera and then compare them to the file you’re currently viewing. If the final version is smaller, that indicates that the photo may have been cropped to exclude information.
Also in the EXIF data is a software tag. “If an image is opened up in Photoshop and then saved, the metadata will then say “Photoshop” and then whatever version they used,” says Farid. He warns, however, that this tag doesn’t necessarily indicate that a photo is trying to trick you. Many photographs go through Photoshop or some other editing program for simple adjustments like color correction, or even just resizing.
Examine the shadows
The image has been edited to flip the man’s face, which creates a clear contradiction in the direction of the shadows. It was part of a study to determine how well people can recognize faked photos.
Cognitive Research: Principles and Implications
We know that the shadow cast by an object will appear opposite the light that caused it. Using that information, investigators can actually map lines between shadows, objects, and the corresponding light sources to see if the image is physically possible.
“Out in the physical 3D world, I have a linear constraint on a shadow, an object, and a light source,” says Farid. “That means I can find all the objects that are casting shadows—as long as I can very clearly attribute a point on a shadow to a point on an object in the image.”
One of the original examples in the study about people’s ability to recognized edited photos showed a man whose face had been flipped so the light source was landing on the same side as the shadow. It’s easy to identify once you’re looking for it.
Mess with it in Photoshop
(The comparison above show two versions of the same image. The one on the right has been subjected to the levels adjustments that clearly show brush adjustments over the front license plate)
If you have access to Photoshop yourself, there are a few adjustments you can make to try and draw out artifacts that you might miss with your naked eye.
One tool Farid suggests using is Levels. You can access this by pressing Command + L (Mac) or Control + L (PC). “If you bring the white point all the way down really close to the black point, what’s going to happen is that the narrow range of black will expand out quite a bit,” says Farid. “If somebody has taken the eraser tool and erased something in a dark area, you can see the traces of the tool.” The same effect happens if you drag the black point all the way up to draw more detail out of the image highlights.
You can try a few other Photoshop tricks to shed some light on alterations. Cranking up the contrast or the sharpness will help emphasize hard edges in the photo, which can sometimes occur when an object is pasted in. Farid also suggests inverting the colors on an image (control + I or command + I) to get a new perspective on the photo, which could jolt your brain into drawing out some irregularities.
Look for patterns
Pattern recognition is one area where dedicated researchers with specialized software tools have a real advantage.
There are some patterns you can recognize with your eyeballs. A novice Photoshop user may well leave repeating patterns behind when trying to clone out an object. Zoom out and look at the image from afar to see if your eye can pick up on any patterns, then zoom in closer to see if there might be some repeating objects in the scene.
One of the most effective methods researchers like Farid have at their disposal involves looking for pattern discrepancies in the noise created by an image sensor, which requires advanced software. “The noise has a specific pattern and when there’s a part of the image that has more noise or less noise, then something has gone wrong,” says Farid. If someone air brushes an image, for example, that effect will change the pattern in a way a computer can recognize. You might even spot it with your naked eye if the retoucher is particularly heavy-handed. If you have ever noticed a model’s skin looking particularly flat and doll-like, you’re seeing basically the same effect in action on a grand—and sometimes creepy—scale.
Researchers also often look for patterns in artifacts left from JPEG image compression. JPEG is a “lossy” format, which means it jettisons some information from the original file to save space and make it readable by a wider array of machines. This causes artifacts, or changes in the data introduced over time—especially when you save it more than once. “Imagine you go out and you buy your brand new iPhone and even the packaging is beautiful. Everything fits just right down to the tape,” says Farid. “Try putting that back together and see what happens. It never works. The same thing is true of a digital file. When you unpack it in Photoshop, and then recompress it, you can’t get it perfectly right. It leaves artifacts that we can recognize.”
Be wary of online tools
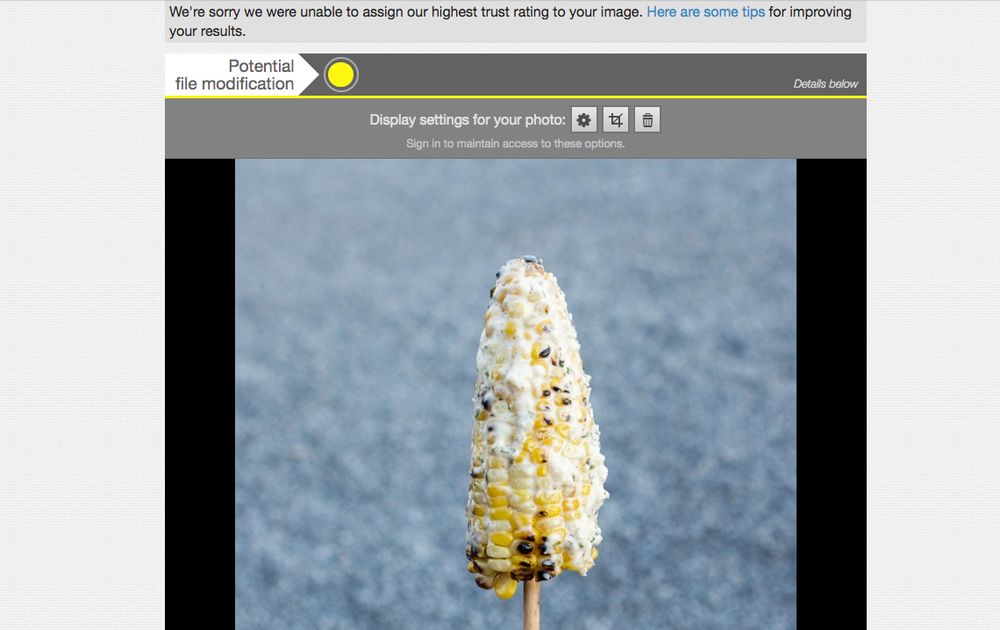
A popular image validation tool says my photo of corn has been edited because the EXIF has been stripped and it was exported from Adobe Lightroom. This is, in fact, what the corn looked like.
Stan Horaczek
There are places online where you can upload an image to check for warning signs of editing, but results can be very tricky to interpret. For instance, I uploaded this picture of corn to a popular site and it was flagged because it was “not an original camera image.” I exported a JPEG from a DSLR raw file with some color corrections myself, so I know it wasn’t faked, but it’s still flagged. It didn’t claim the photo was doctored, but it also casts doubt where there shouldn’t be any.
There are some websites that can read the software tags, like this one that can tell you exactly what actions were taken in Lightroom when editing a photo. That’s more useful, but you still need an understanding of the software itself to make an accurate interpretation.
There is software out there that can identify these more complex manipulations, but it’s typically only available commercially, for security and law enforcement operations.
“Making that stuff public is tricky because the more I make the information public, the easier it is to circumvent,” says Farid. “We release the details in scientific publications, but to really go back and implement all that technique would be really hard for somebody. That’s the compromise we have right now.
Don’t fall for false positives
The final step is realizing that sometimes things look altered when they aren’t. “Photographs just look weird sometimes,” says Farid.


EDITOR'S PICKS

